Use one physical label
The hardware scanner and camera must return the same characters.
Do not compare a scan with an identifier copied from the app. Read the same barcode on the same vial using both devices. The checker does not store the result or change a vial.
Settings → Barcode scanners
Configure two scanner behaviors.
The scanner must operate as HID, keyboard wedge, or keyboard emulation. Serial, USB CDC, virtual COM port, and Bluetooth SPP modes require software that listens for that protocol and do not type into CryoIndex fields.
Append a carriage return or Enter after every barcode so CryoIndex knows the scan is complete.
Disable prefixes, suffixes, code identifiers, GS1 presentation formatting, and case conversion unless those characters are genuinely printed as part of the identifier.
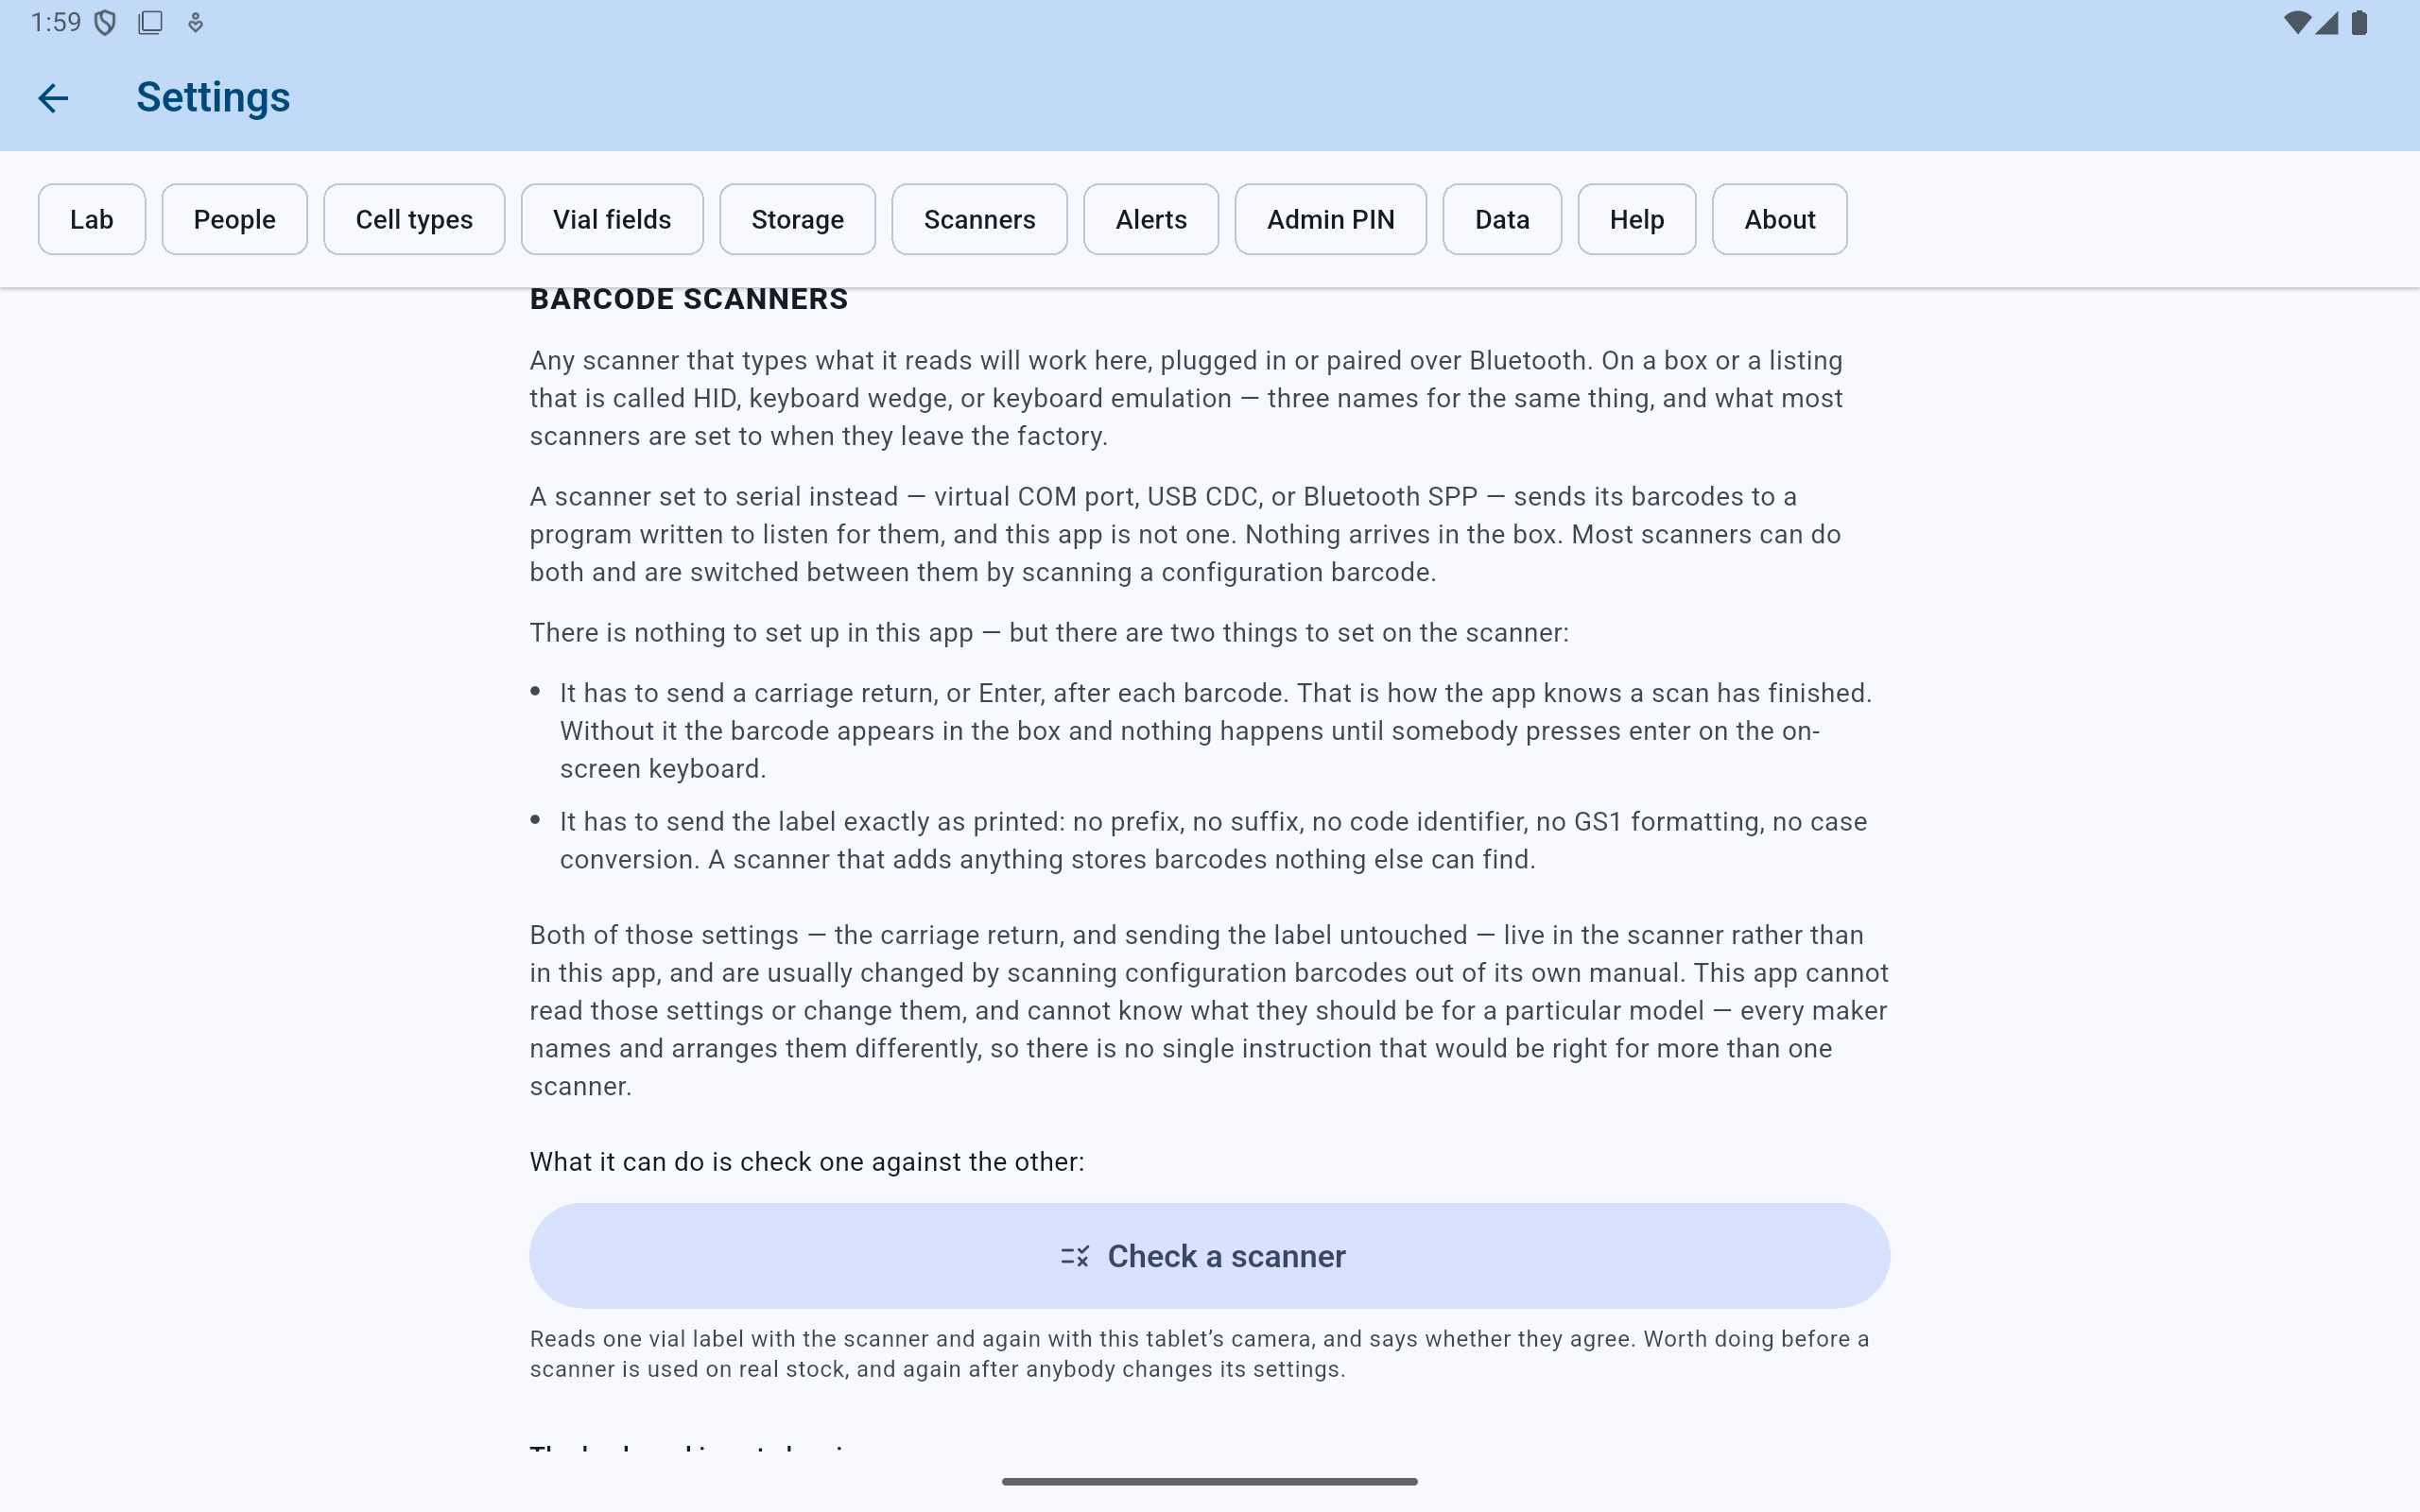
CryoIndex cannot inspect or change scanner firmware settings; scanner manufacturers expose them through their own manuals and setup barcodes.
- Confirm that the scanner uses a keyboard-emulation mode.
- Enable carriage return or Enter after each scan.
- Remove any transformation that changes the printed identifier.
- Open the non-persistent comparison tool.
Check a scanner
Read the same label twice.
- Place the cursor in Scan a label here.
- Point the hardware scanner at a physical vial label and pull the trigger.
- After the first reading appears, choose Read the same label.
- Hold that same physical label in the tablet camera's scanning area.
- Use the scanner only when CryoIndex reports that both readings agree exactly.
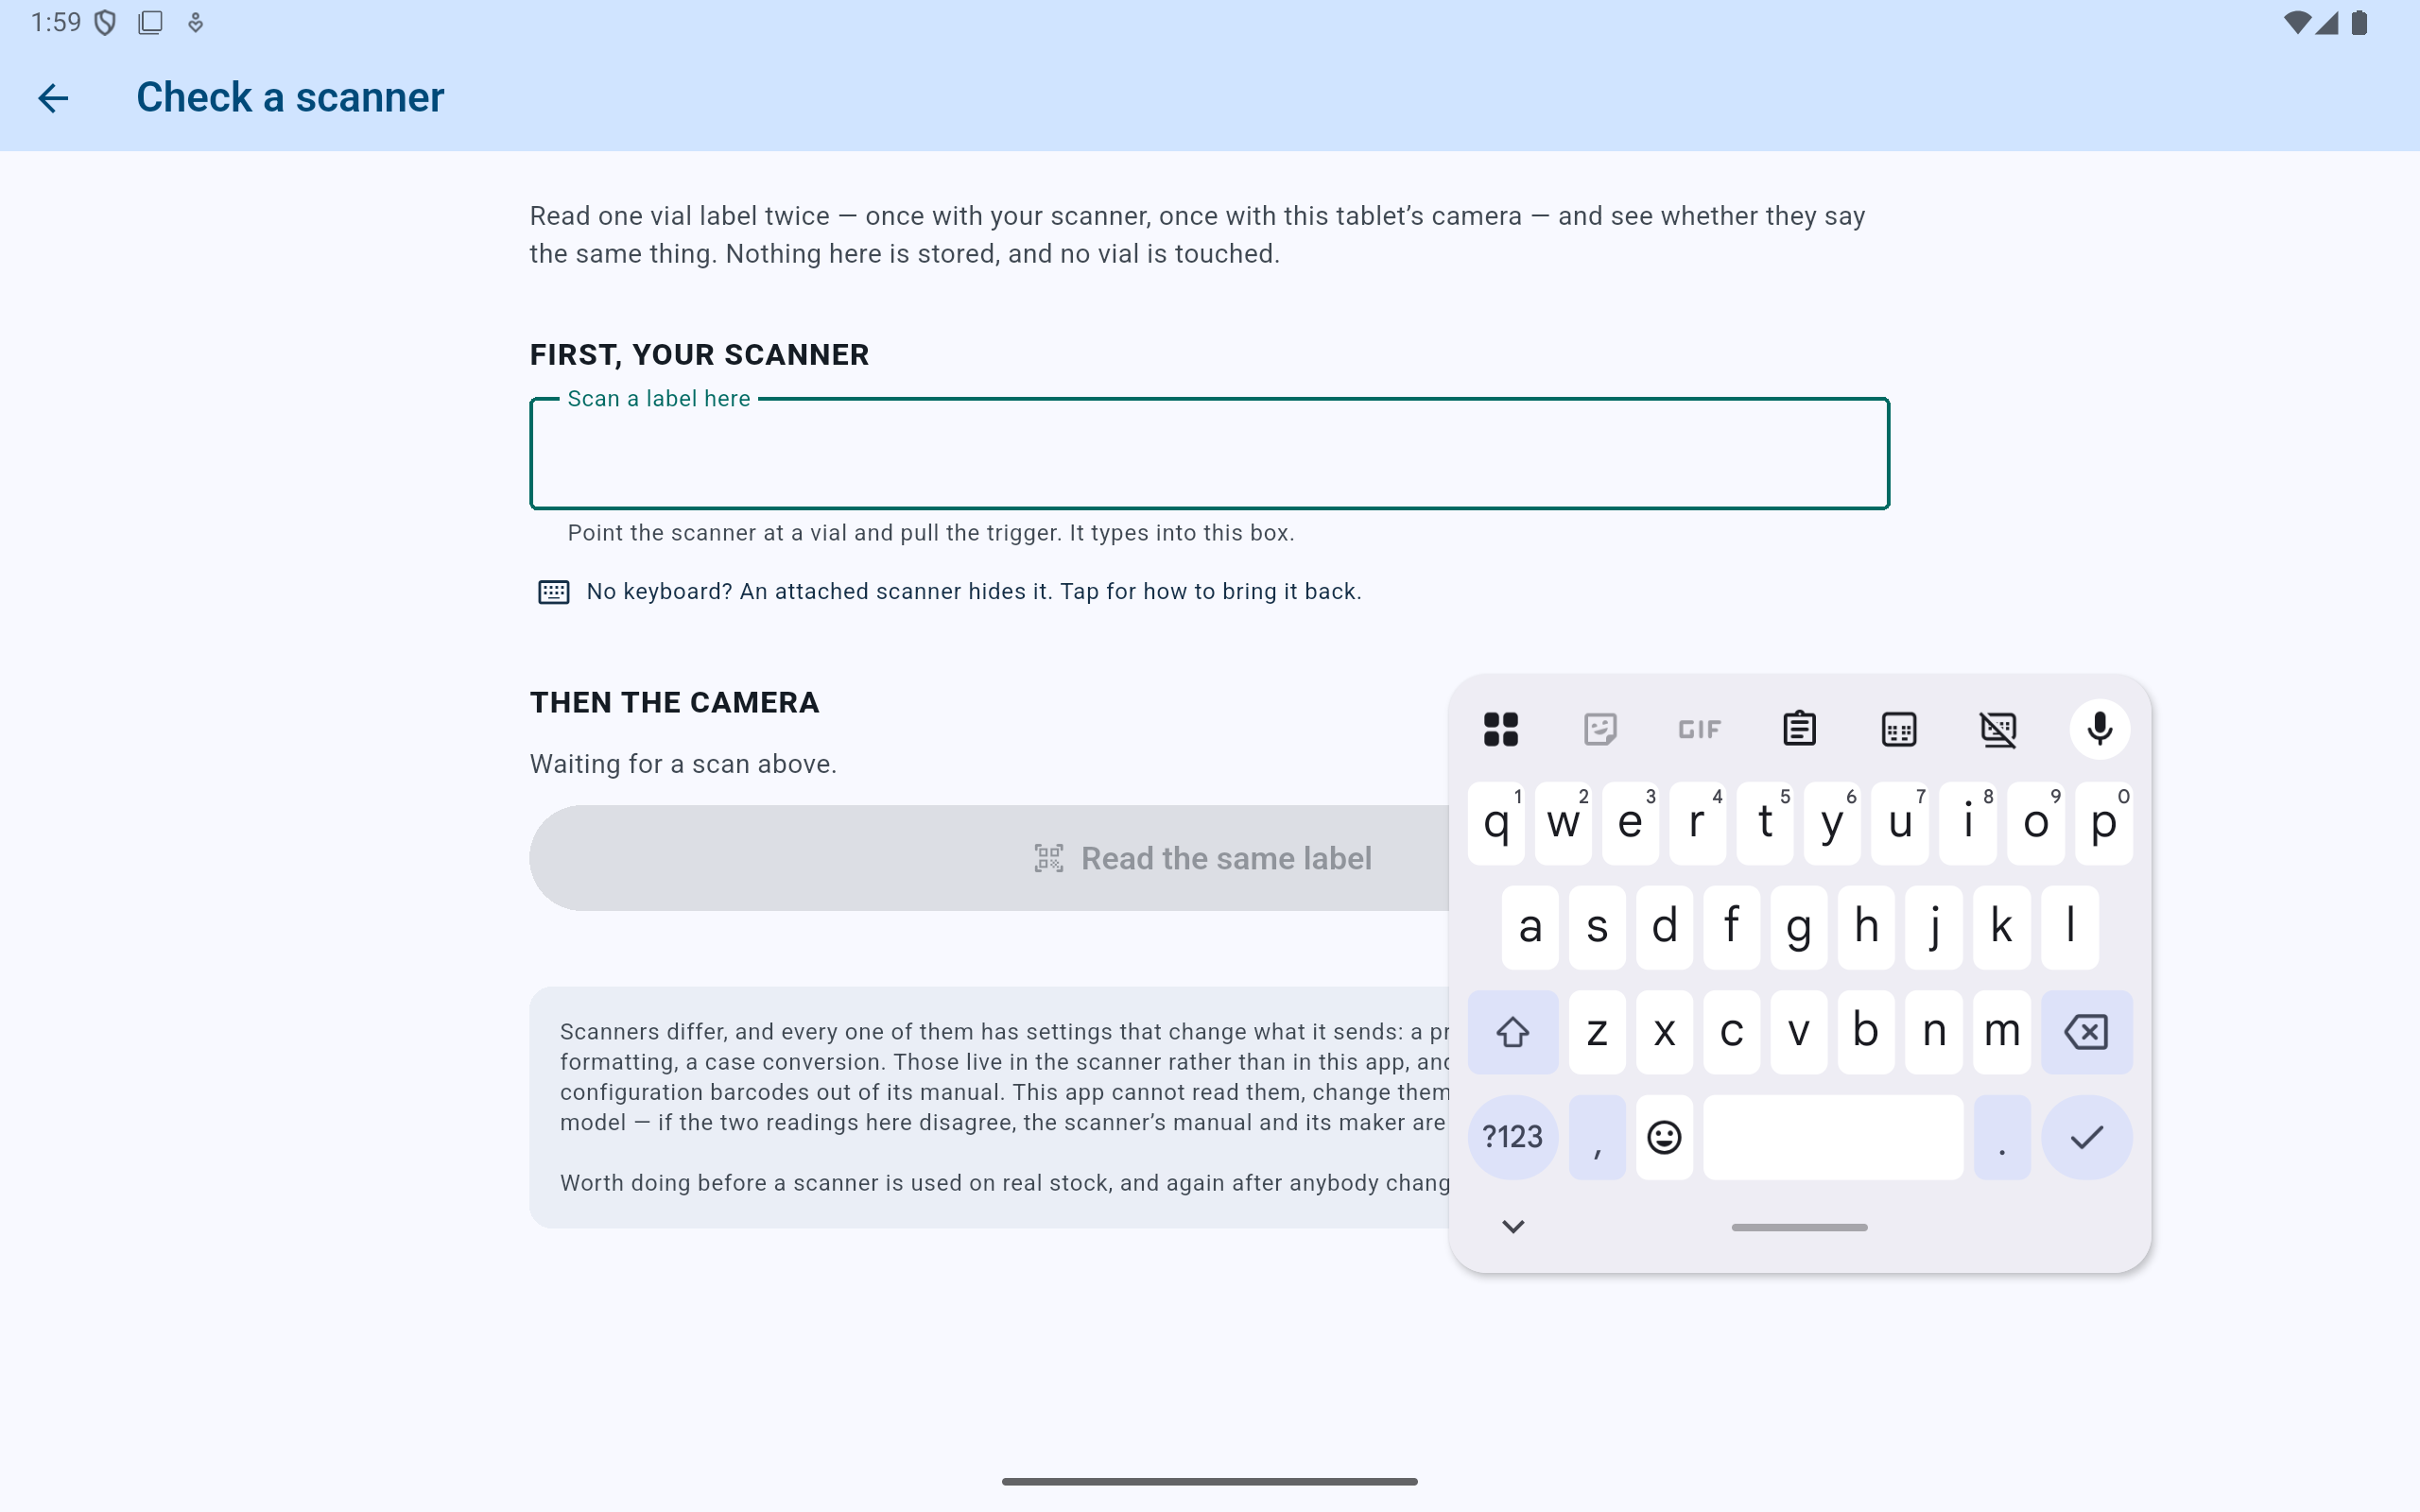
Nothing entered in this checker becomes a vial record.
- Scan the physical label into this field first.
- The camera step remains unavailable until the first reading is complete.
- Use the keyboard help when Android hides typing controls.
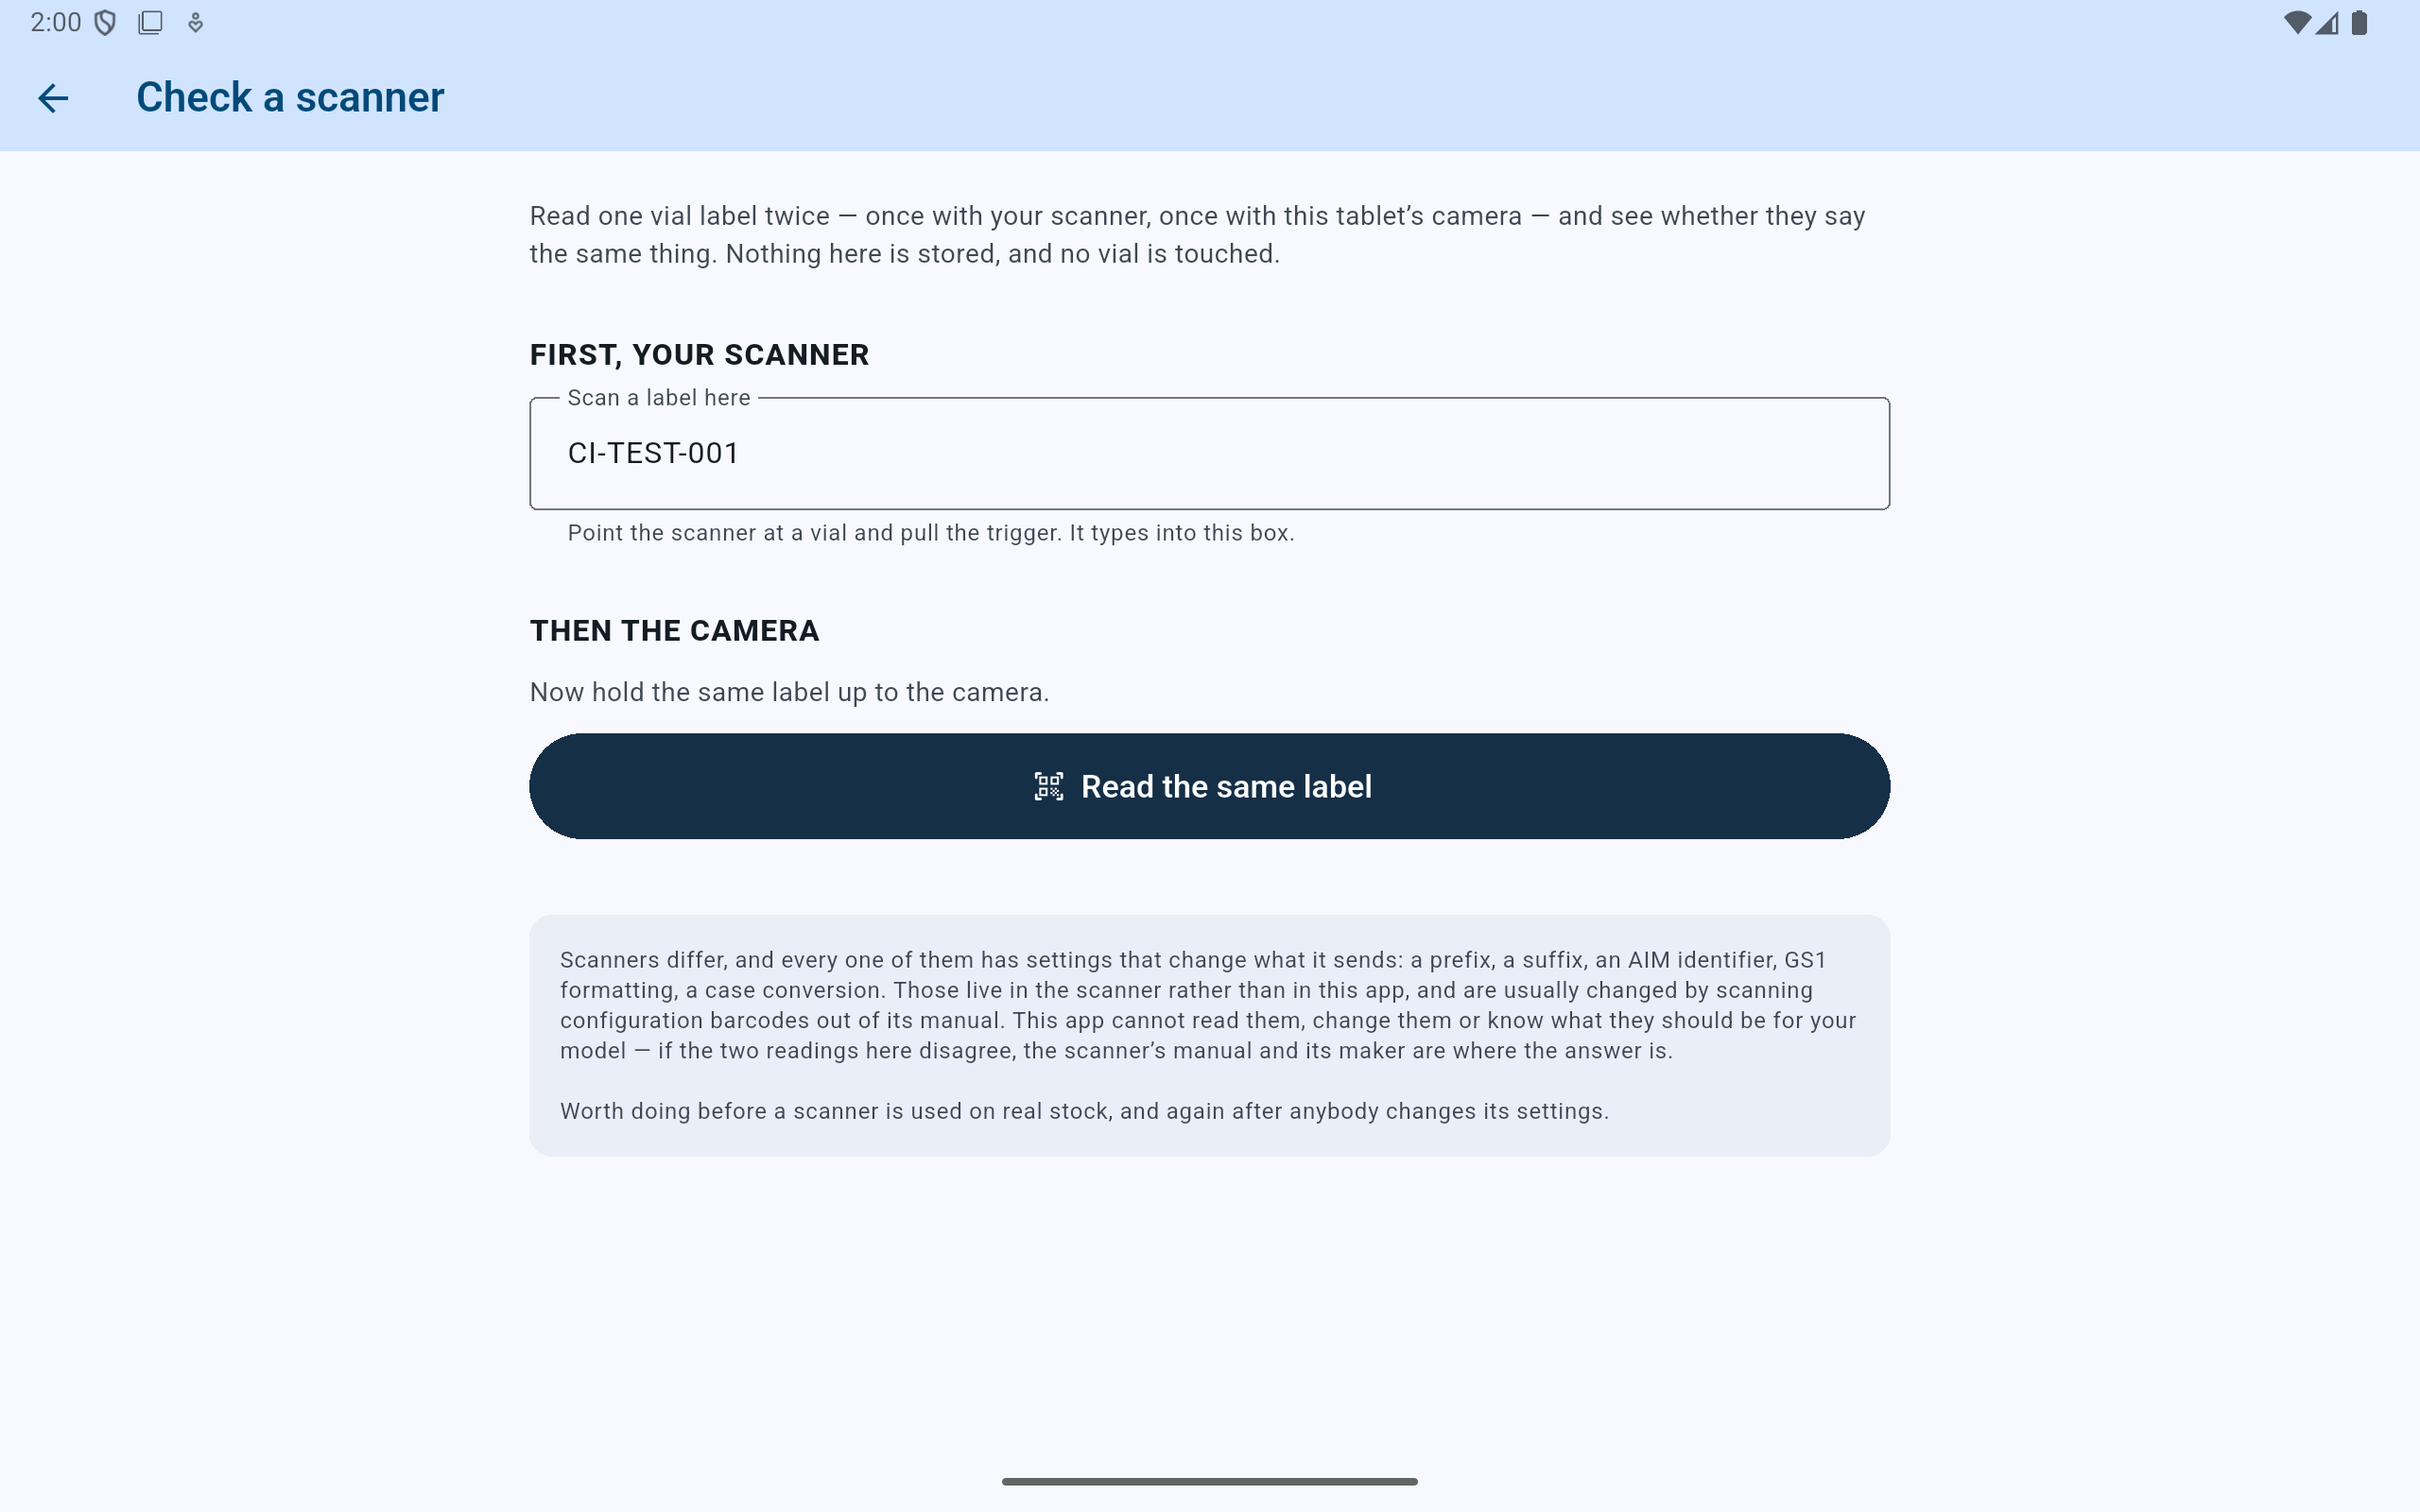
The camera action appears only after CryoIndex has received the complete first value, including the scanner's Enter terminator.
- Verify what the hardware scanner actually typed.
- Now read the identical label with the tablet camera.
Android setting
Keep the on-screen keyboard visible with a scanner attached.
Android treats a HID scanner as a physical keyboard and may hide the on-screen keyboard. Scanning can still work while ordinary typing becomes impossible. This is controlled by Android, not CryoIndex.
- Open the tablet's Settings app.
- Search for keyboard, or open the physical-keyboard settings.
- Enable the option named Show on-screen keyboard, Use on-screen keyboard, or similar.
- Return to CryoIndex and confirm that both scanning and typing work.
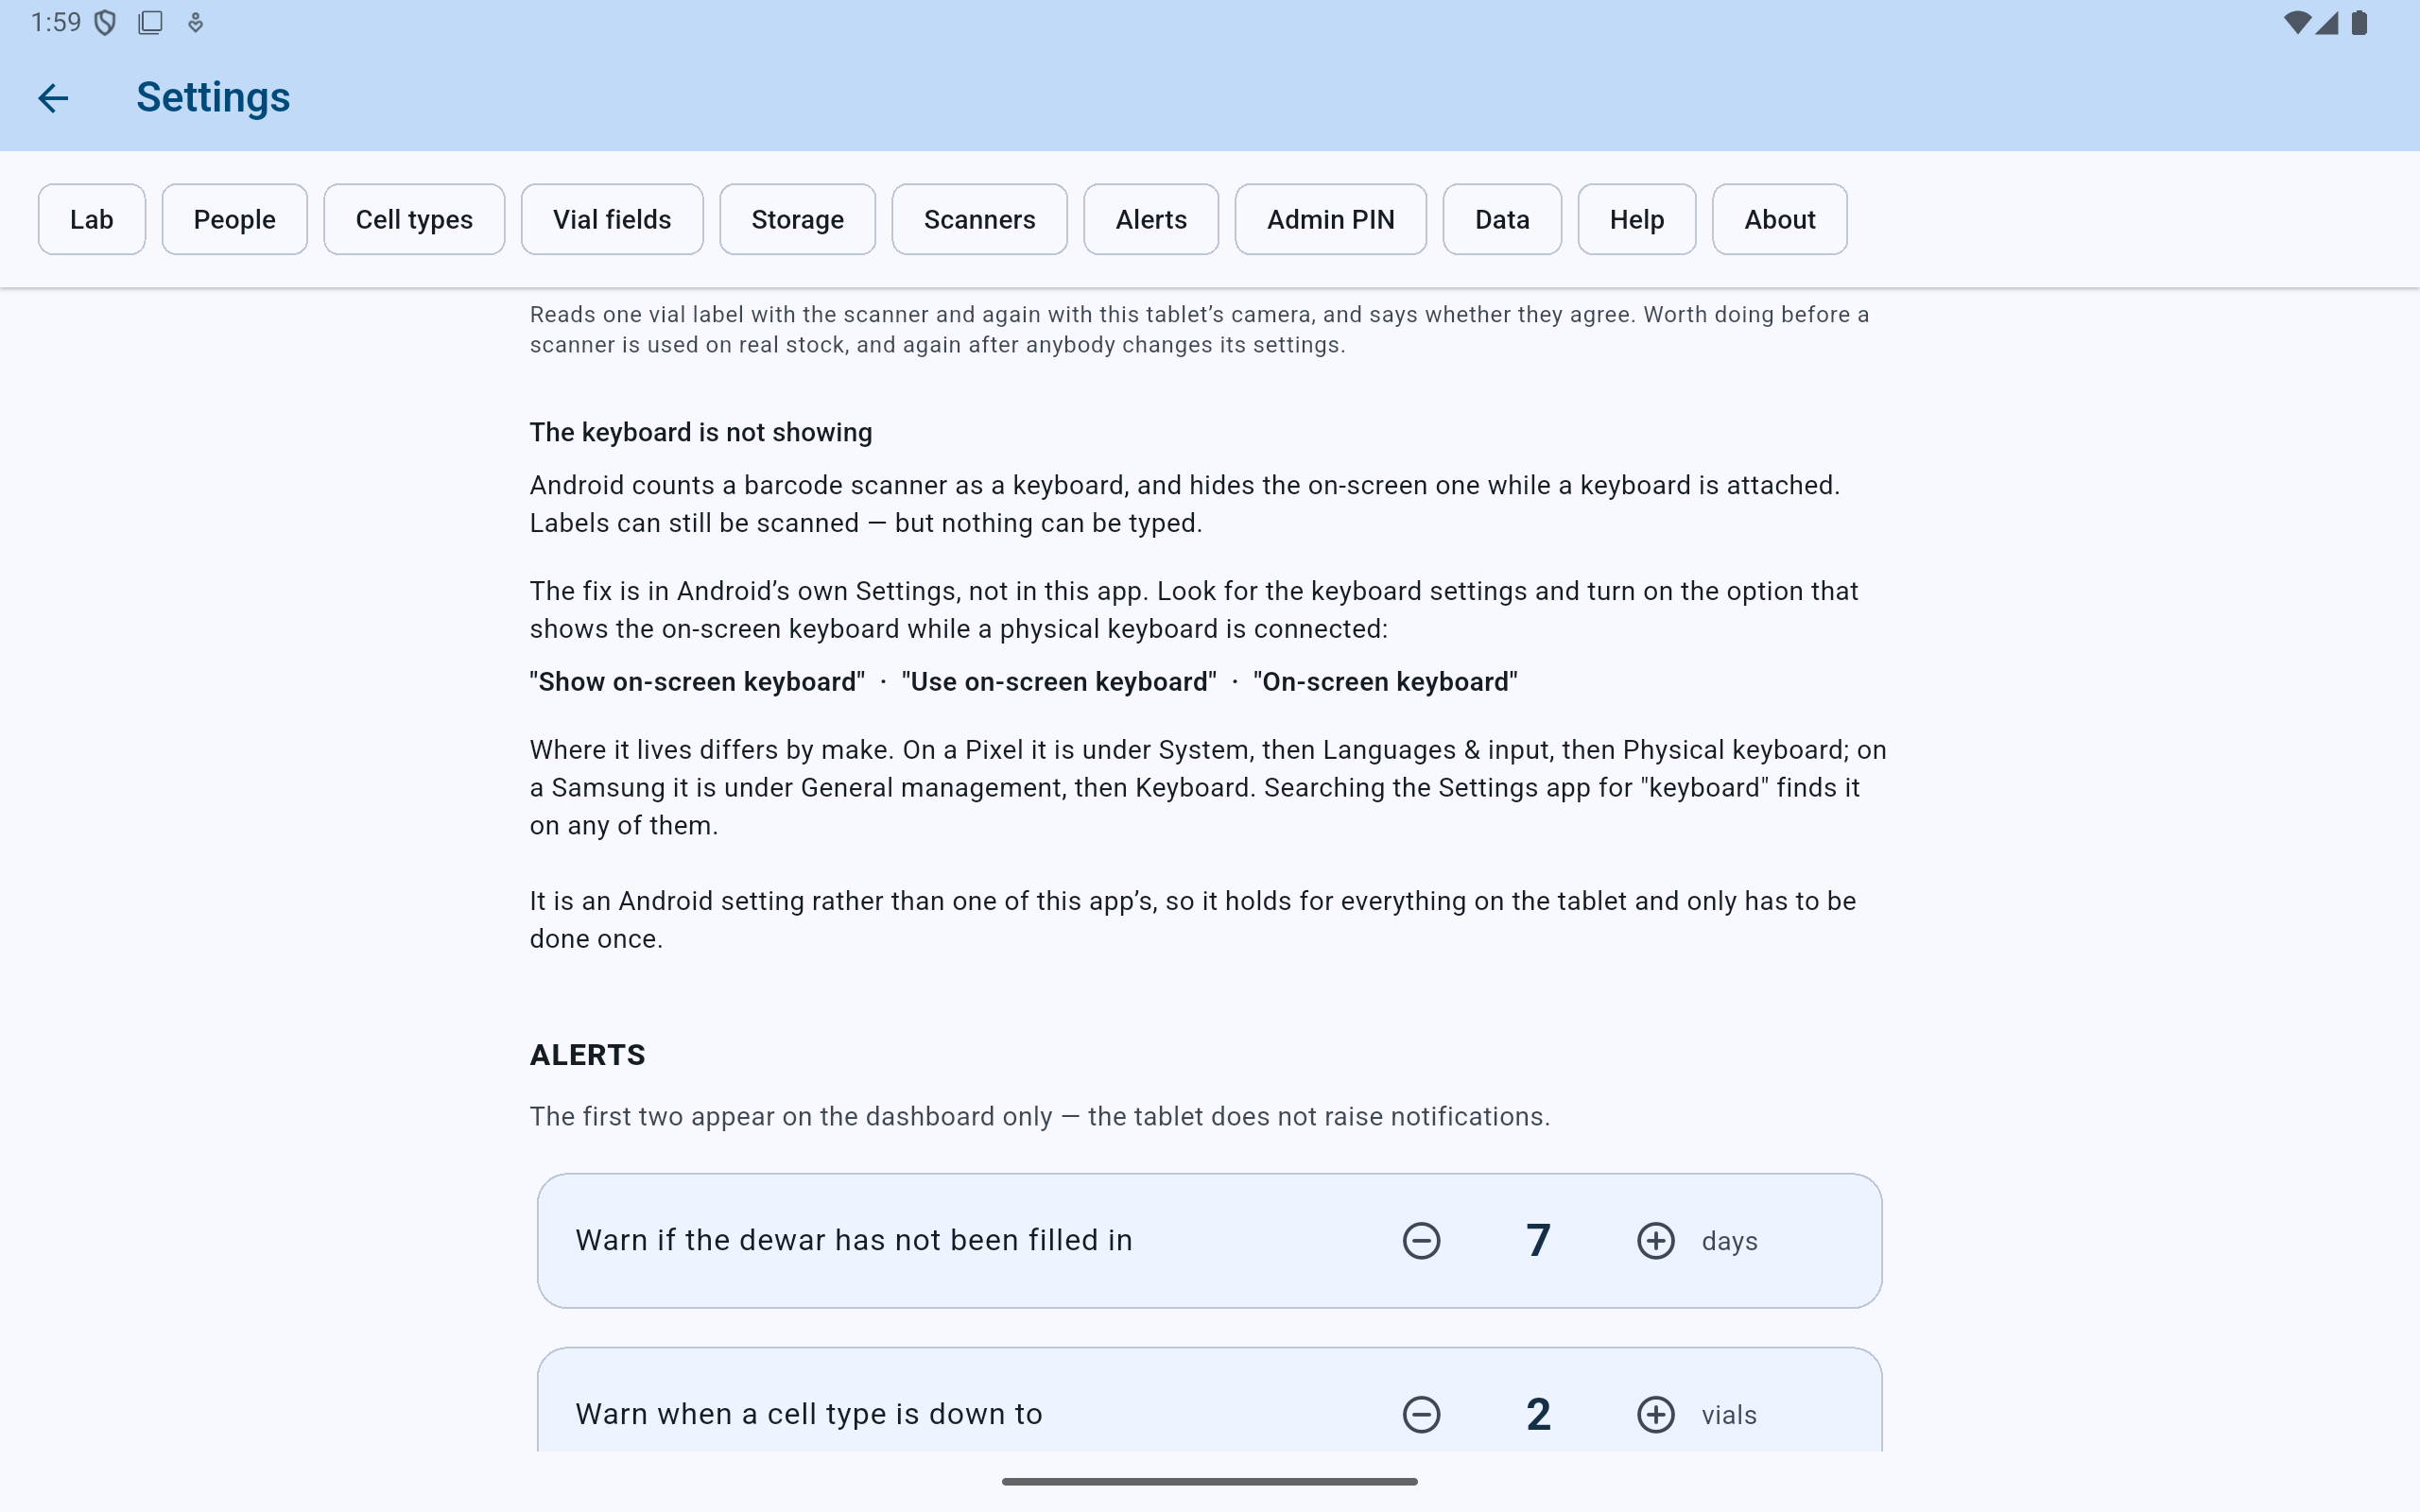
On Samsung tablets, start under General management and Keyboard. On other devices, searching Android Settings for keyboard is usually fastest.
- The scanner can work even while ordinary typing is hidden.
- Turn on the Android option that shows the on-screen keyboard with a physical keyboard.
- This tablet-wide setting normally has to be changed only once.
If the readings differ
Correct the scanner configuration before storing inventory.
Extra parentheses, repeated digits, missing characters, changed letter case, or a value that does not submit automatically all point to scanner configuration. Do not compensate by editing every barcode in CryoIndex.
For the tested NETUM RD1200, use the dedicated guide for raw output and GS1 settings. Other models use different setup barcodes and terminology, so follow their manufacturer documentation.